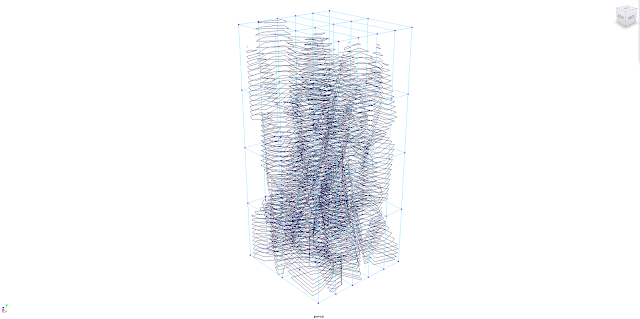
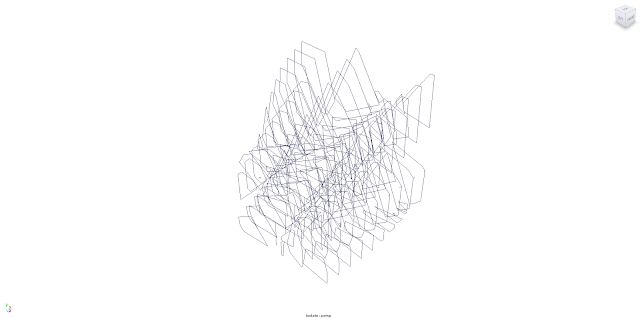
Subject_02_Final 3D print model
The final print model is changed. The print and print program can not translate the my STL file because the file has too many polygon and vertex. So, I delete inner bone part and resize before stretch ver. The height can affect the print time, so I can not print long one.
The printing
With supporter
The printing work takes about 35hours and the melting supporter work takes a day. But the result's resolution is better than I think and the thickness is not too sharp. This is final model pic.
Pic_01
Pic_02
Pic_03
Pic_04
Pic_05
Pic_06
Pic_07
Pic_08
Pic_09
Pic_10
Sunday, December 8, 2013
Sunday, December 1, 2013
BREAK:IN_12
Subject_02_Final render
The printing is now working. And this is the render scene for doc or another use. I think about the variety of another alternative in bone solid parts. The random option or stacking option or column option has. I render whole scene with the concept will be revealed well specially.
Final model
I shot the scene for the concept is revealed well. The whole shape is square and the fragments are originated from that. and the whole parts make cube's time and shape anatomy.
The side view_01
The side view_02
The side view_03
This is extra scene. After taking shot these scene, I think the object resemble to building or some structure for human. The stacked bone parts make floor and the fragments frames make structure. I do not know exactly, this method or some changed way have many possibility for new making form in real life or design I think.
The perspective view_01
The perspective view_02
Bird's view
Closed view_01
Closed view_02
Closed view_03
Special one
The printing is now working. And this is the render scene for doc or another use. I think about the variety of another alternative in bone solid parts. The random option or stacking option or column option has. I render whole scene with the concept will be revealed well specially.
Final model
I shot the scene for the concept is revealed well. The whole shape is square and the fragments are originated from that. and the whole parts make cube's time and shape anatomy.
The top view
The side view_02
The side view_03
This is extra scene. After taking shot these scene, I think the object resemble to building or some structure for human. The stacked bone parts make floor and the fragments frames make structure. I do not know exactly, this method or some changed way have many possibility for new making form in real life or design I think.
The perspective view_01
The perspective view_02
Human view
Closed view_01
Closed view_02
Closed view_03
Special one
Sunday, November 24, 2013
BREAK:IN_11
Subject_02_For final printing
Making fragments skin with frame
Making one shape
Stacking inner parts
Connecting outside parts
Inner structure
This is final shape for printing light render ver. The outside frame is more thicker because the print may be lost sharpness part or thin part. But I think the frame is more thin than now is best.
Whole parts
Side view
Perspective view
For final print, I control the whole shape because the sharpness part may be lost in printing. So, the dropping situation is expressed by just the stretch whole shape vertically. And the each fragments have inner structure like a bone parts, something like a break:in anatomy.
Stretch the shape
stacking structure by projected line
The final shape will be more organic and whole parts are connected. And the all parts will be one closed surface for real printing. So, I trim and control the surface and vertex manually step by step.
Stacking inner parts
Connecting outside parts
Completed shape
This is final shape for printing light render ver. The outside frame is more thicker because the print may be lost sharpness part or thin part. But I think the frame is more thin than now is best.
Side view
Perspective view
Sunday, November 17, 2013
BREAK:IN_10
Subject_02_New Form making method
Project line
Extract the line
Form changing
Connecting each level
Stacking shape up
Lowfied surface
Shape with hole
I change the method for making form slightly. This time, I try to express for reason both dropping accident and cube form. So, I project the line to fragments pile for sewing with same axis. With this one, reform the shape for making scene that dropping accident with gravity. The size of surface will express the dropping velocity.
Extract the line
Form changing
Adapt gravity situation
And I use these parts, make the bone shape something for complete concept "BREAK:IN". The bone shape will be metaphor the origin, or the reason something like a cube anatomy. For making shape, I will connect each level and make the bone shape each fragments.
Stacking shape up
Lowfied surface
Shape with hole
Perspective
Sunday, November 10, 2013
BREAK:IN_09
Subject_02_Form Making
I use the sewed 100 lines, make cube with dividing three parts. Each parts are making original form, cube and each fragments are sewed with same z axis.
Modeling
Render_01
I use the sewed 100 lines, make cube with dividing three parts. Each parts are making original form, cube and each fragments are sewed with same z axis.
Three parts for making original shape
And I use these parts, make the bone shape something for complete concept "BREAK:IN". The bone shape will be metaphor the origin, or the reason something like a cube anatomy.
First part
First section
Extrude and making form
Working pic_01
Working pic_02
For testing in real 3d print, I prepare small parts of this first section. This has closed surface for real print and I get rid of all slice point or thin line for completed testing.
Render_01
Render_02
Subscribe to:
Comments
(
Atom
)


